A brand-new coil should deliver clean flavour from the first puff. Instead, many beginners get a harsh, burnt first hit — and often a coil that never recovers. The cause is almost always the same: the cotton inside the coil was dry when power was applied. Priming is the two-minute ritual that prevents it. Here is how to prime a vape coil correctly, and why each step matters.
What Priming Actually Does
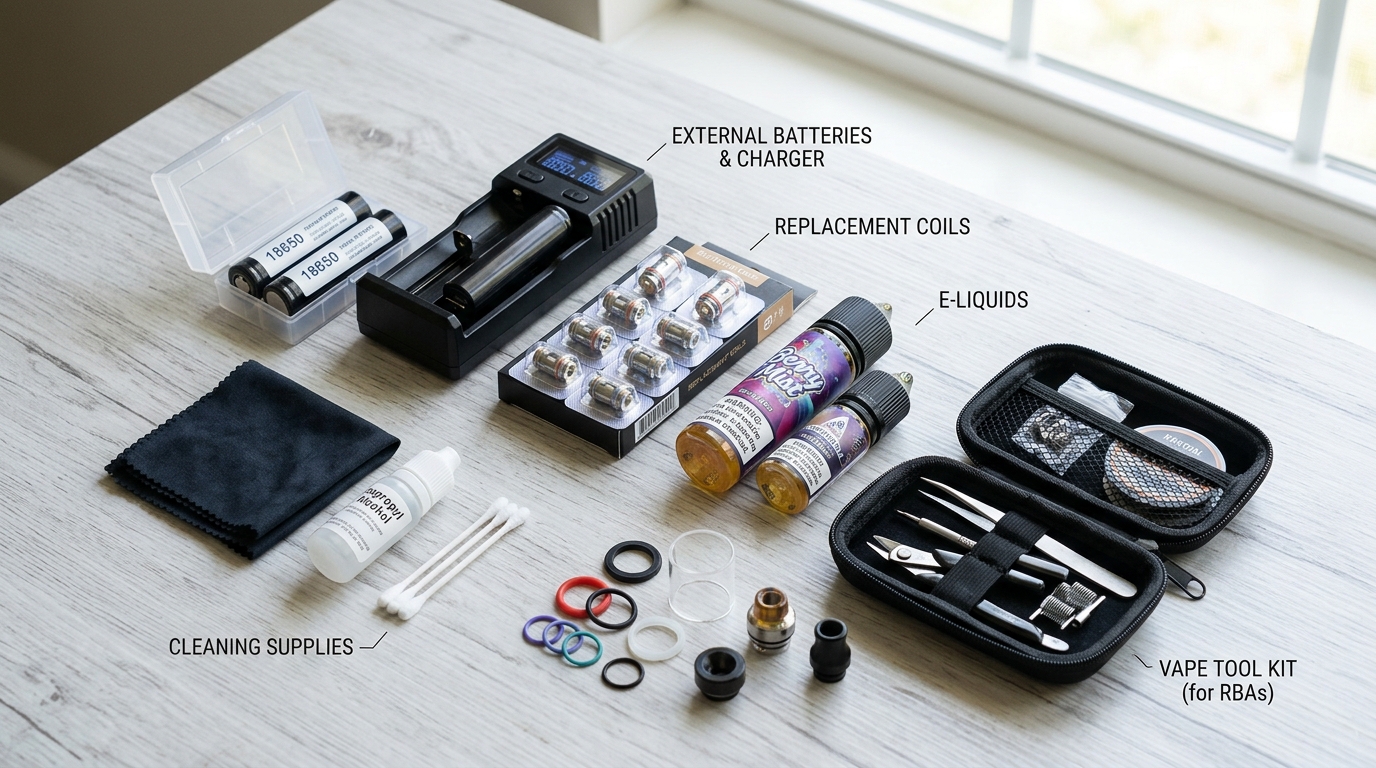
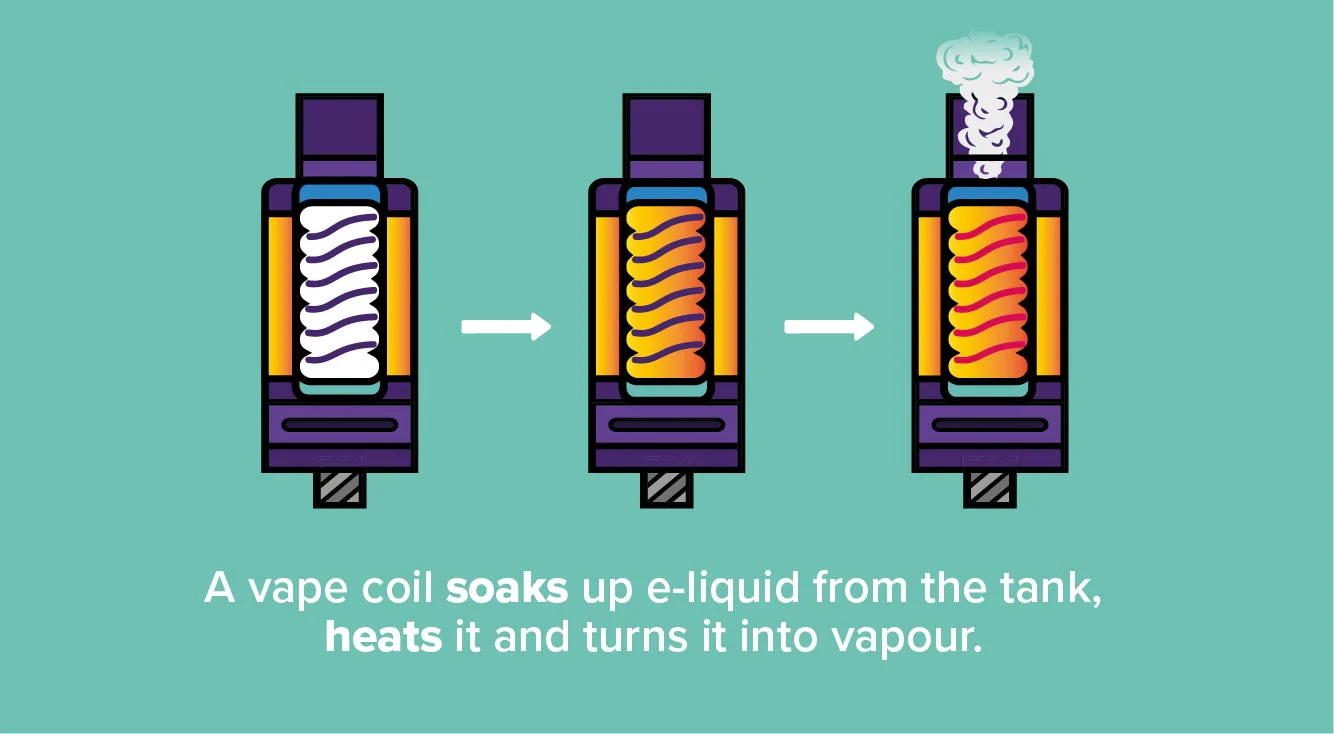
Inside every replaceable coil is a heating element wrapped in cotton. That cotton must be fully saturated with e-liquid before the device fires, because dry cotton scorches instantly at vaping temperatures — and once scorched, the burnt taste soaks through the whole wick permanently. Priming simply means wetting the cotton by hand before installation, then letting the filled tank finish the job. It is the single easiest habit for extending coil life, and it sits alongside the cleaning and storage routines in our guide to maintaining your vape device properly as basic coil care.
Step by Step: Priming a New Coil
Start with the coil out of the tank. Drip e-liquid directly onto the exposed cotton through the top opening and onto the side wicking ports — a few drops on each visible cotton surface, until the cotton looks wet and glossy rather than white and fluffy. Install the coil, fill the tank, and then wait: five to ten minutes for a standard coil, longer for large mesh coils with dense cotton. The wait is not optional padding; thick cotton saturates slowly, and patience here is the whole technique. If your device allows it, a few gentle draws without pressing the fire button (primer puffs) pull liquid into the wick and speed things along.
Break In the Wattage Slowly
Even a perfectly primed coil appreciates a gentle start. Set your device to the low end of the coil’s recommended wattage range — or below it — and take several short puffs, then step the wattage up gradually over the first half hour of use. This lets the wick keep up while the cotton settles and the coil beds in, and it avoids stressing the cotton at its most vulnerable moment. Starting at maximum wattage on a fresh coil is the second most common cause of the dreaded burnt first day, right after skipping the priming wait entirely.
Signs You Primed Too Little — or Too Much
Under-priming announces itself immediately: a dry, harsh, cottony hit. If you catch it on the very first gentle puff and stop, the coil can usually still be saved — set the device aside for fifteen minutes and let the wick saturate, then restart at low wattage. If you powered through several harsh hits, the cotton is scorched and the coil is done. Over-priming has gentler symptoms: gurgling, spitting and occasional leaking, because excess liquid has flooded the coil. That fixes itself — take a few normal puffs, or gently blow through the tank into a tissue to clear the flood, and carry on.
Why Mesh Coils Changed the Routine
Most modern coils use a mesh heating element instead of a wound wire, and mesh changes priming in two ways. It heats more evenly across a larger cotton surface, which is good news for flavour and for avoiding hot spots — but the cotton pad inside a mesh coil is often larger and denser, so it can take longer to saturate fully, especially with thicker, high-VG liquids. Give mesh coils the full ten minutes after filling, not the minimum five, and be extra disciplined about the low-wattage break-in: a scorched mesh pad covers more area, so a bad start ruins more of the coil. The reward for the patience is real — a well-primed mesh coil delivers the consistent, clean flavour these coils are known for, from the first tank to the last.
Coil Life: What Priming Buys You
A well-primed coil typically lasts one to two weeks of regular use, sometimes more with lighter, clearer e-liquids. Sweet, dark liquids shorten coil life regardless of priming — the sugars caramelise onto the coil — as does chain vaping at high wattage, which outruns the wick’s ability to re-saturate between puffs. When flavour fades, vapour drops or a stale taste creeps in even with fresh liquid, the coil is telling you it is finished. Choosing the right liquid for your setup helps here too, from flavour style down to strength — covered in our nicotine strength guide — because a coil constantly fed unsuitable liquid never performs at its best.
One more small habit pays off: keep track of when you fitted each coil. A phone note or a mark on the box takes five seconds, and a week later it answers the question “why does this taste off?” immediately — an ageing coil and a badly primed new one present almost identically, and knowing the coil’s age tells you whether to replace it or simply give it more time to saturate. Experienced vapers diagnose most flavour problems from that one piece of information alone.
Priming Pods and Non-Replaceable Coils
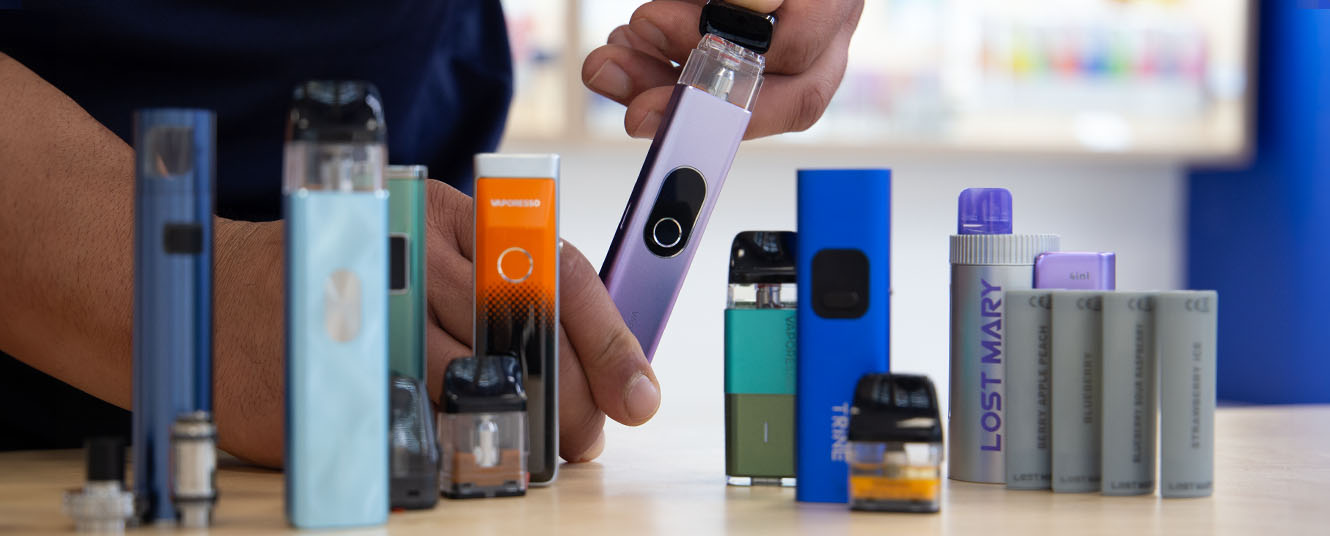
Pod systems follow the same rule with a simpler method: fill the pod, wait at least five to ten minutes before the first draw, and take the first few puffs gently. Pods with built-in coils cannot be hand-dripped, so the waiting step carries the whole load — patience matters even more. If a pod tastes faintly burnt from the very first session, it was almost certainly vaped too soon after filling; very few survive that mistake, so treat the wait as part of filling, not an optional extra afterwards.
Knowing how to prime a vape coil is really knowing one principle: cotton before power, always. Saturate by hand, fill, wait, start low and climb slowly. Two minutes of patience buys you the full life of every coil you fit — and no burnt hits ruining a fresh setup.